Thursday, 8 December 2011

Back to Printing


 I really wanted to go back to printing, as I'd really enjoyed the process when I experimented at home and during the last workshop, so I decided to work from this drawing I'd made of my sectionalised painting, as I thought it could come out quite nicely as a monoprint maybe.


After speaking to Des though, I started to work on a dry-point etching of the drawing, but as a whole drawing instead of section by section.

I used a sharp nail to scratch into the plastic, using a cross-hatching style as I had with the drawing.


When I'm finished scratching in the image I'll rub ink into the scratches and grooves and make a print.
I think I'll try cutting it up also into different sections, so I can play around with it like a jigsaw.


I'm really enjoying making a drawing in this way, as it's so different from just using a pen/pencil- and because I'm making these permanent indentations it allows me to feel more relaxed about making mistakes etc. I'm trying my best to use the nail just as I would a pencil.

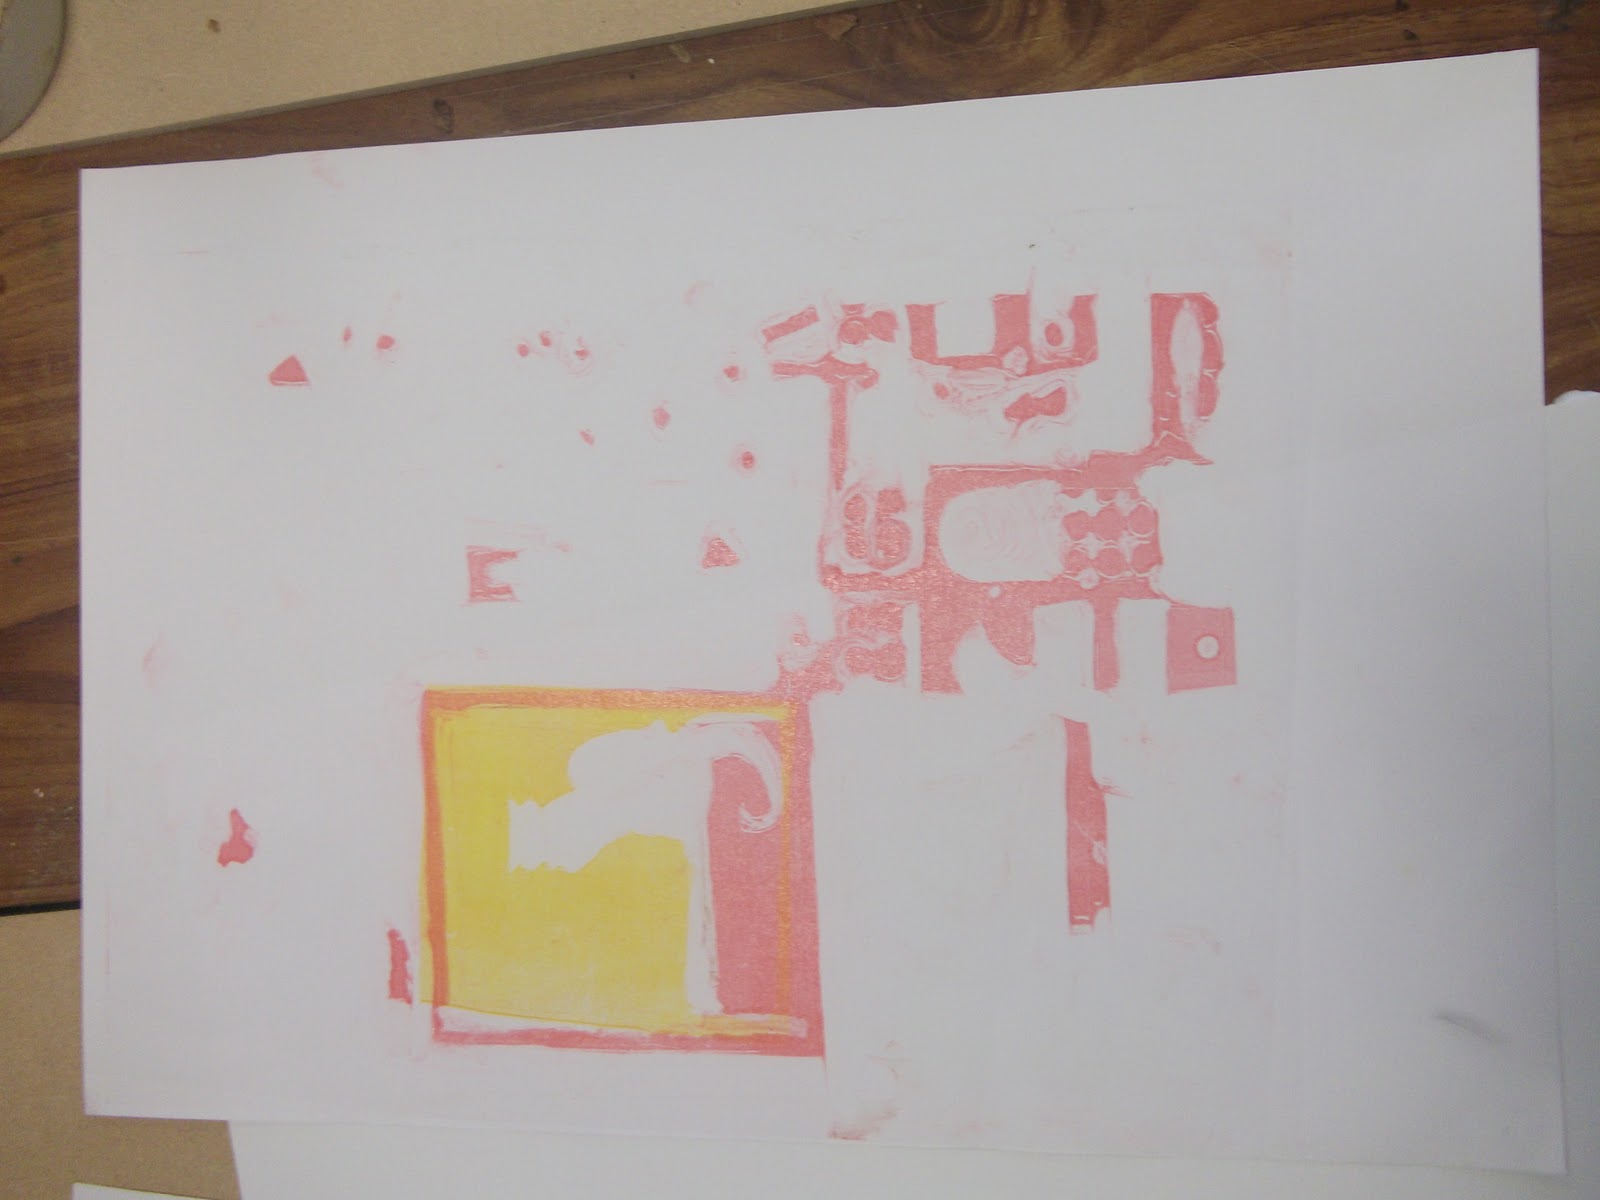
To print the drawing I rubbed black ink into the grooves and scratches and wiped of excess on the top. I then rolled it through the printing press on slightly damp paper.

These were the finished prints: 


The first print was quite dark, and as there was still ink left on the plate I decided to run it through the press a second time. I preferred this version as the mark-making came out much clearer:


Cardboard

Continuing on with working with cardboard, I started playing around with the sectionalised image of my painting, but I was interesting in moving into a more 3D way of working.


I decided to make a small maquette of my room.


...with funtioning desk drawers...


I'm now trying to decide whether or not to paint it or leave it like this. In one way it kindof shows the bare, stripped back skeleton of a room to which things can be added...


Monday, 28 November 2011

Getting Back on Track

For various reasons, I've been having trouble focusing on my work recently, and haven't really been blogging the work which I have been (albeit slowly!) getting done.

 So I guess this can be kind of a catch-up.

A while ago I started to look at the work of David Hockney, and was messing around with images digitally and whatnot, but I was beginning to get bored of working with computers and digital images etc. so I decided to take a more hands-on approach to the next step of work.

I took this photo of my bedroom (in Grove) and cut it up, in order to be able to manipulate and play around with the layering of each section of the picture (like in Hockney's work)


I played around with the pieces, almost like a jigsaw, but overlapping and making collage effects. I also photocopied a few of these placements to give the illusion of a digitally edited image.


Still not satisfied with the amount of my own hands-on input of representing the image, I decided to paint. But to make each piece it's own mini-painting. The idea here was that this one image- of my space, my home- could be made up of lots of little pieces, just like all the photos and posters which had made up my wall.


I was really happy with the painting in the end anyway.

Then I photocopied and cut out each little painting so I could play around some more with layering etc.


I also decided to try a short stop motion clip:


My next step also involves looking at each of these individual sections, not with paint, but with corrugated cardboard, which I think can look really effective. I like how each piece works compositionally and think it could translate well to print or even clay... This is the next challenge, but I think I'm getting back into focus now... :)


Monday, 21 November 2011

Romanticism

Friedrich

Turner

Constable

I have been a little preoccupied over the last little while due to this first CCS essay (which is due on Wednesday) which is why I've not been blogging really. I'm enjoying studying these Romantic paintings though- they're growing on me!

Regularly scheduled blogging will resume shortly :)

Tuesday, 8 November 2011

Printing Workshop

I spent my first morning in the print workshop today. I decided (kindof on a last-minute whim) to work with my photograph which I'd painted over, as I thought it looked kindof like a print already, in a sense.

I inked up an acetate and laid it over my image to work out which areas of ink to rub away (with white spirits) and which to keep.


 Then I printed the red colour (the first print was a bit of a failure as I totally forgot to take into account the fact that I should have reversed the image- but life goes on!)


So then I moved on to the yellow part of the image, and removed any parts that weren't yellow.


Getting the registration right for the prints was difficult as I was using different sizes of paper, so the first try was pretty messed up, but luckily I had another red print done (a lighter one on newsprint) and that one turned out ok. (Photo isn't great though!).
The next step is to add in blacks and greys etc. but that with most likely be next week.


I left the print room a little dis-heartened today. I had high hopes for perfect prints at the end of the day, which I didn't achieve. However, I really enjoyed the process of inking- rubbing away sections and  trying to match up the different layers- I just think that I should have been more patient and gone into the workshop with a bit more of a plan.

Anyway! I'm going to take this as a learning experience and hopefully next week I can improve on the prints I have so far and maybe explore some new work, as I'm really intrigued by print and would love to create some nice work involving it.

Monday, 7 November 2011

Workspace

Workspace- Various times September-October:


Workspace- 7th November 2011- morning:


Workspace- 7th November 2011- afternoon:


Short clip of taking apart my workspace:

Hockney-esque Montages

I googled "how to create a David Hockney collage" as I was curious where to start with my own take on Hockney's photo montages and I came across a website called the 'Hockneyizer'. It's a basic generator, where you upload an image and it is "Hockney-fied". I repeated this over and over with each hockney-fied image to create a dramatic effect which was, in the end, and un-recognisable blur of clutter.


Although I found this an interesting way to observe how clutter of images can become even more cluttered, it wasn't exactly the effect I was going for, so I started to experiment with photos of my room.


I'm going to continue to experiement with this idea of montage etc. and work without the computer for a while, cutting up actual photos and I think I'll also try to take lots of photos of an area and try to piece them together...